

In this blog post, we'll explore how you can leverage Jenkins pipelines integrated with Docker to build, test, and deploy your applications efficiently.
Task-01
Create a docker-integrated Jenkins declarative pipeline
Use the above-given syntax using
shinside the stage blockYou will face errors in case of running a job twice, as the docker container will be already created, so for that do task 2
First we will create ec2 instance and install Jenkins and Docker on it. Expose port 8080 and access Jenkins using the public IP address of the instance.
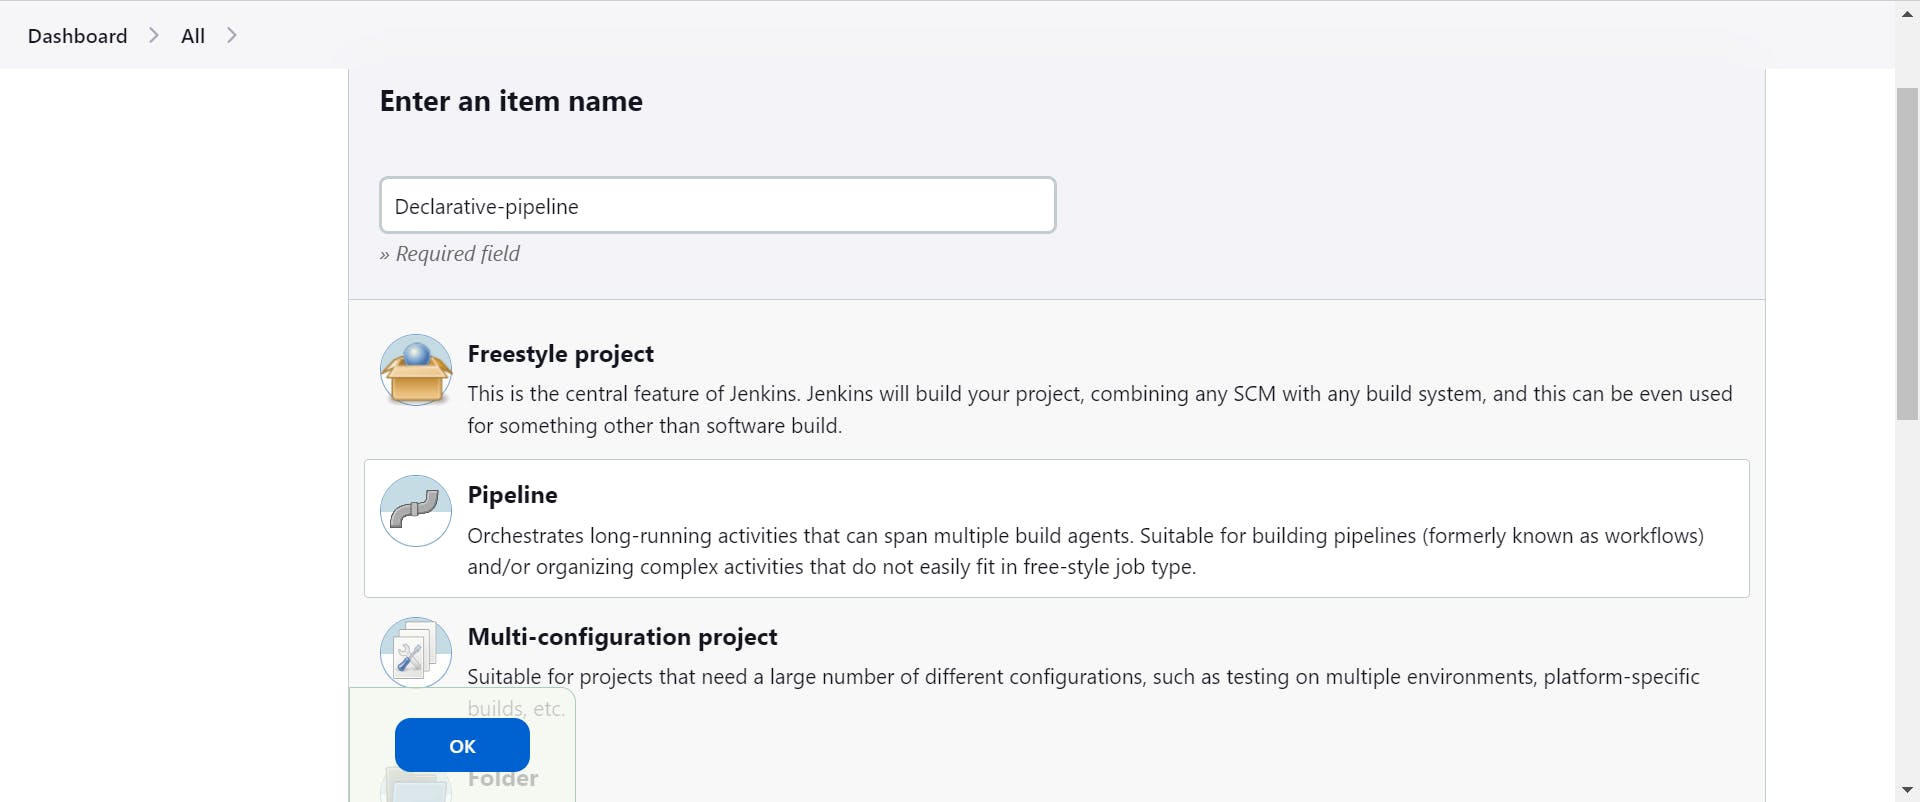
To create a new item on the Jenkins dashboard, click on "New Item" and then choose "Pipeline" from the options and click OK.
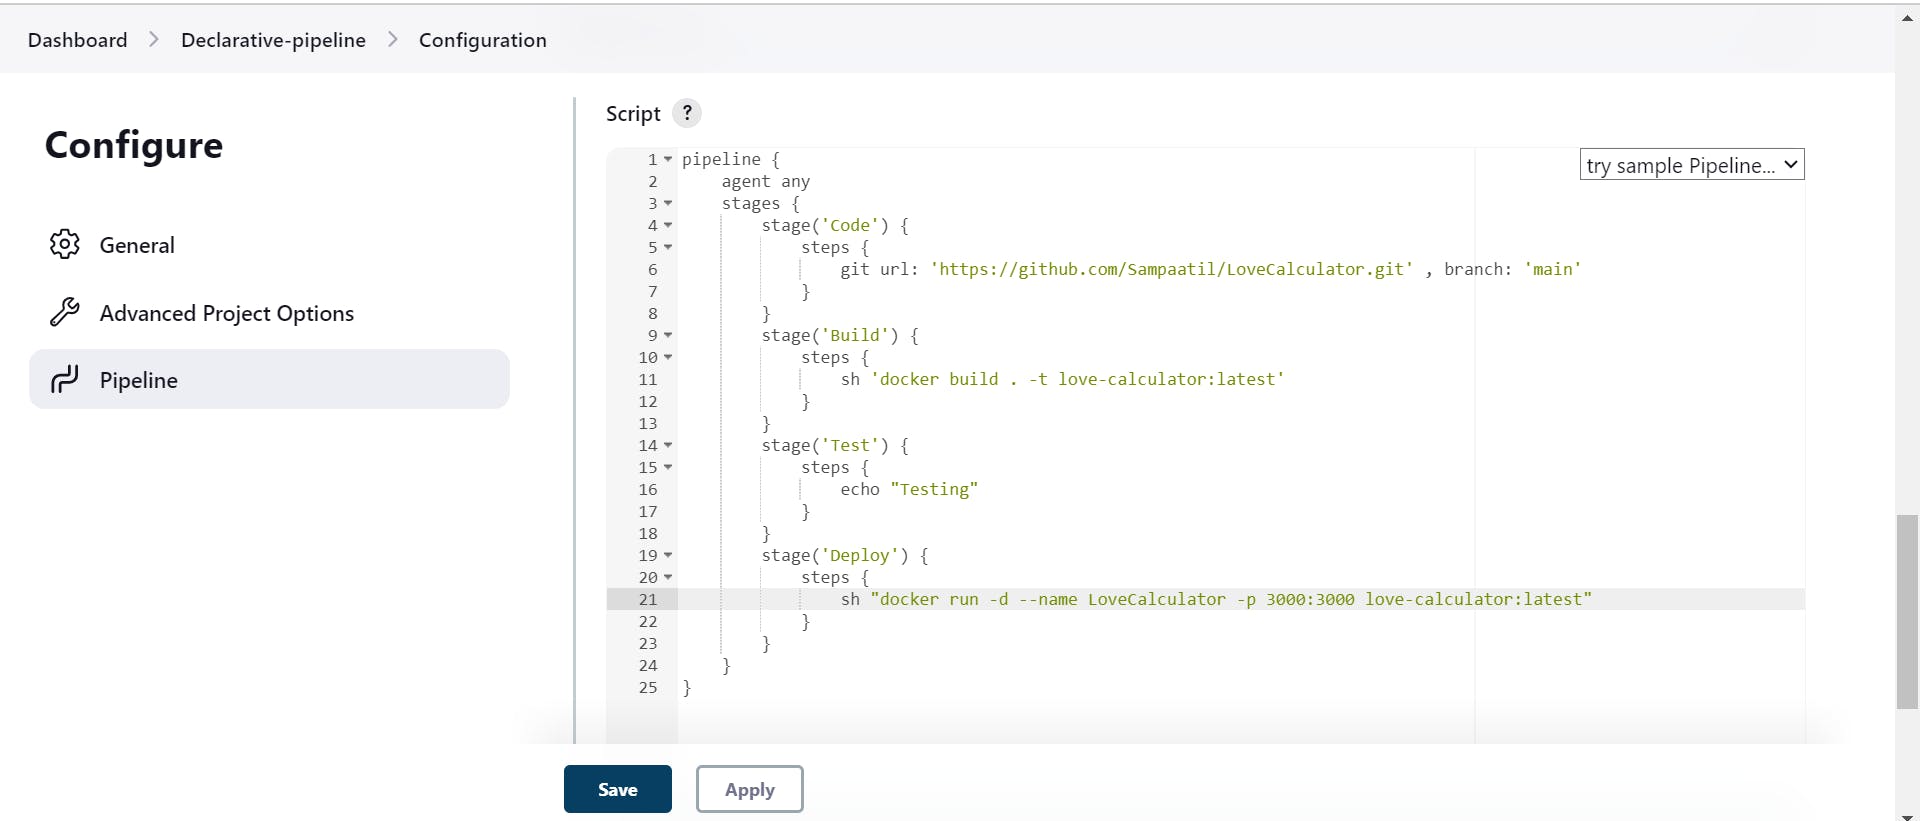
"Next, let's create a Jenkins Declarative Pipeline integrated with Docker, utilizing the 'sh' command within the stage block."
Code Explanation:
Pipeline Directive (
pipeline):- The
pipelineblock defines the entire Jenkins pipeline job.
- The
Agent Directive (
agent any):- It specifies that the pipeline can run on any available agent in the Jenkins environment.
Stages (
stages { ... }):- Stages represent different phases of the CI/CD process.
Stage: Code Checkout (
stage('Code') { ... }):- This stage checks out the source code from a Git repository (
https://github.com/Sampaatil/LoveCalculator.git) on themainbranch.
- This stage checks out the source code from a Git repository (
Stage: Build (
stage('Build') { ... }):Inside this stage, Docker is used to build the application.
The
dockerblock specifies the Docker image (love-calculator:latest) to be used for building the application.
Stage: Test (
stage('Test') { ... }):- This stage represents the testing phase. Currently, it only echoes "Testing" to the console.
Stage: Deploy (
stage('Deploy') { ... }):In this stage, the application is deployed using Docker.
The
shstep runs a shell command to start a Docker container (docker run) with the specified options (-dfor detached mode,--name LoveCalculatorto name the container,-p 3000:3000to map port 3000 of the container to port 3000 of the host,love-calculator:latestas the Docker image).
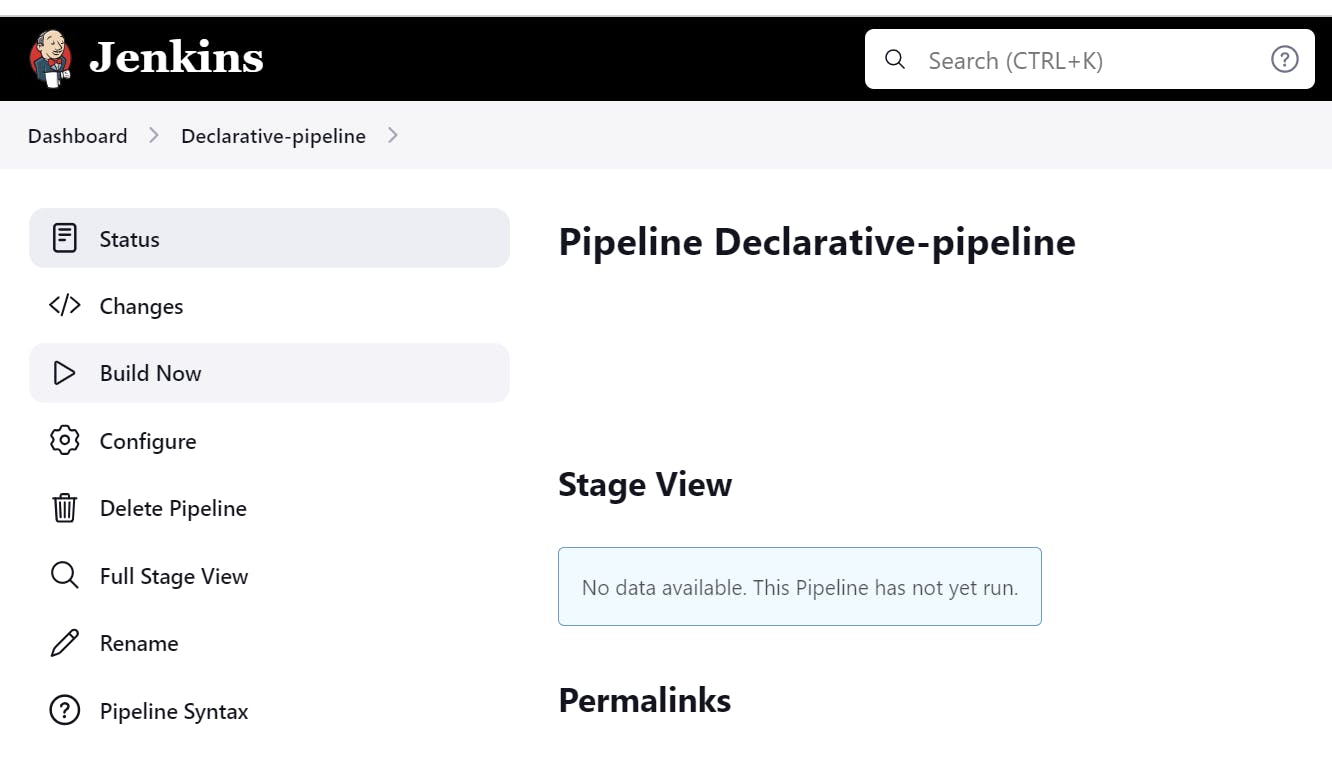
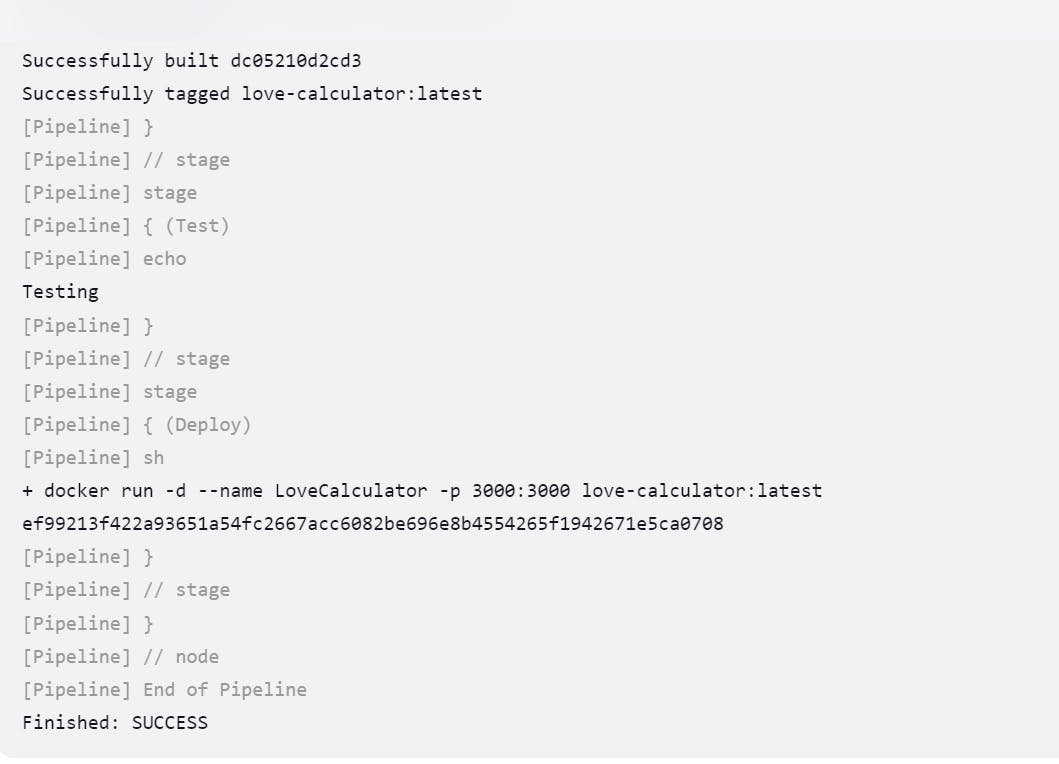
Save the configuration changes and then click on the 'Build Now' button on the dashboard.
Here, we can observe that our build has succeeded, and the corresponding output is displayed in the console output.
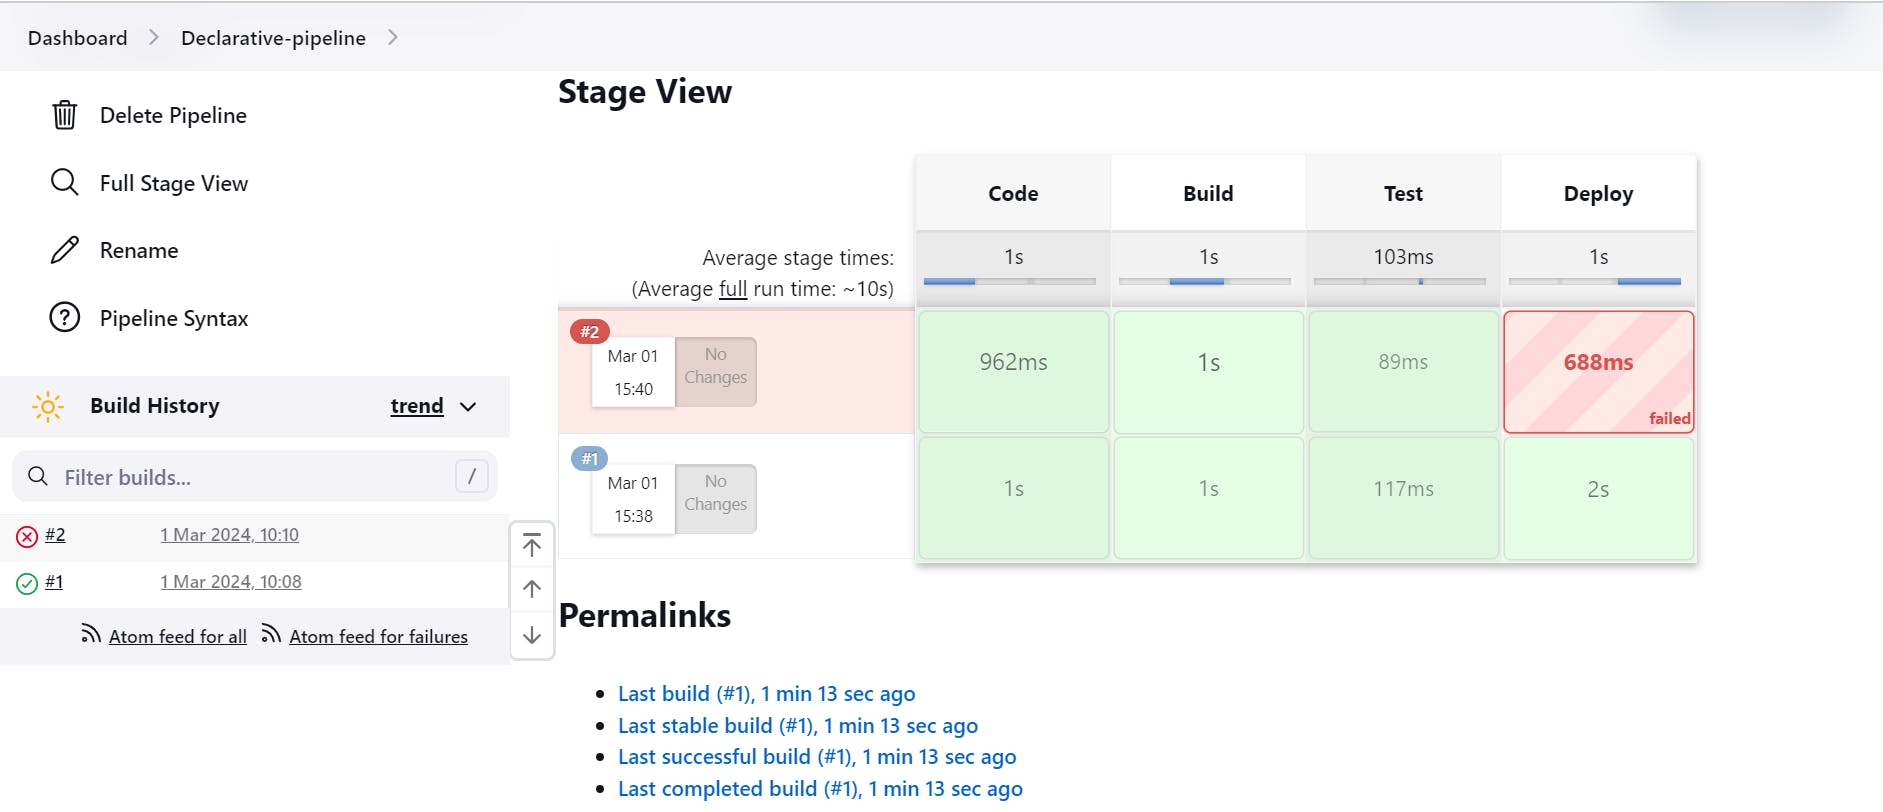
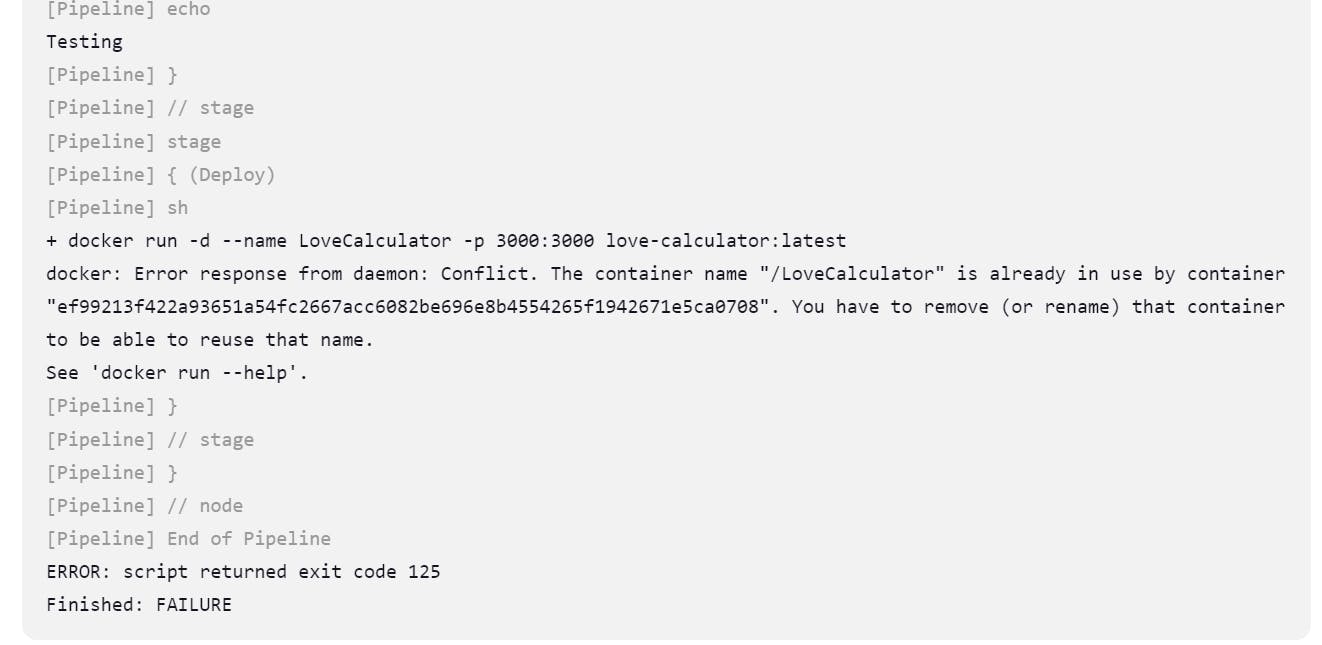
When running the job multiple times, you may encounter errors due to the Docker container already being created. To address this issue, proceed to Task 2, as illustrated by the following stage view and console output.
Task 02
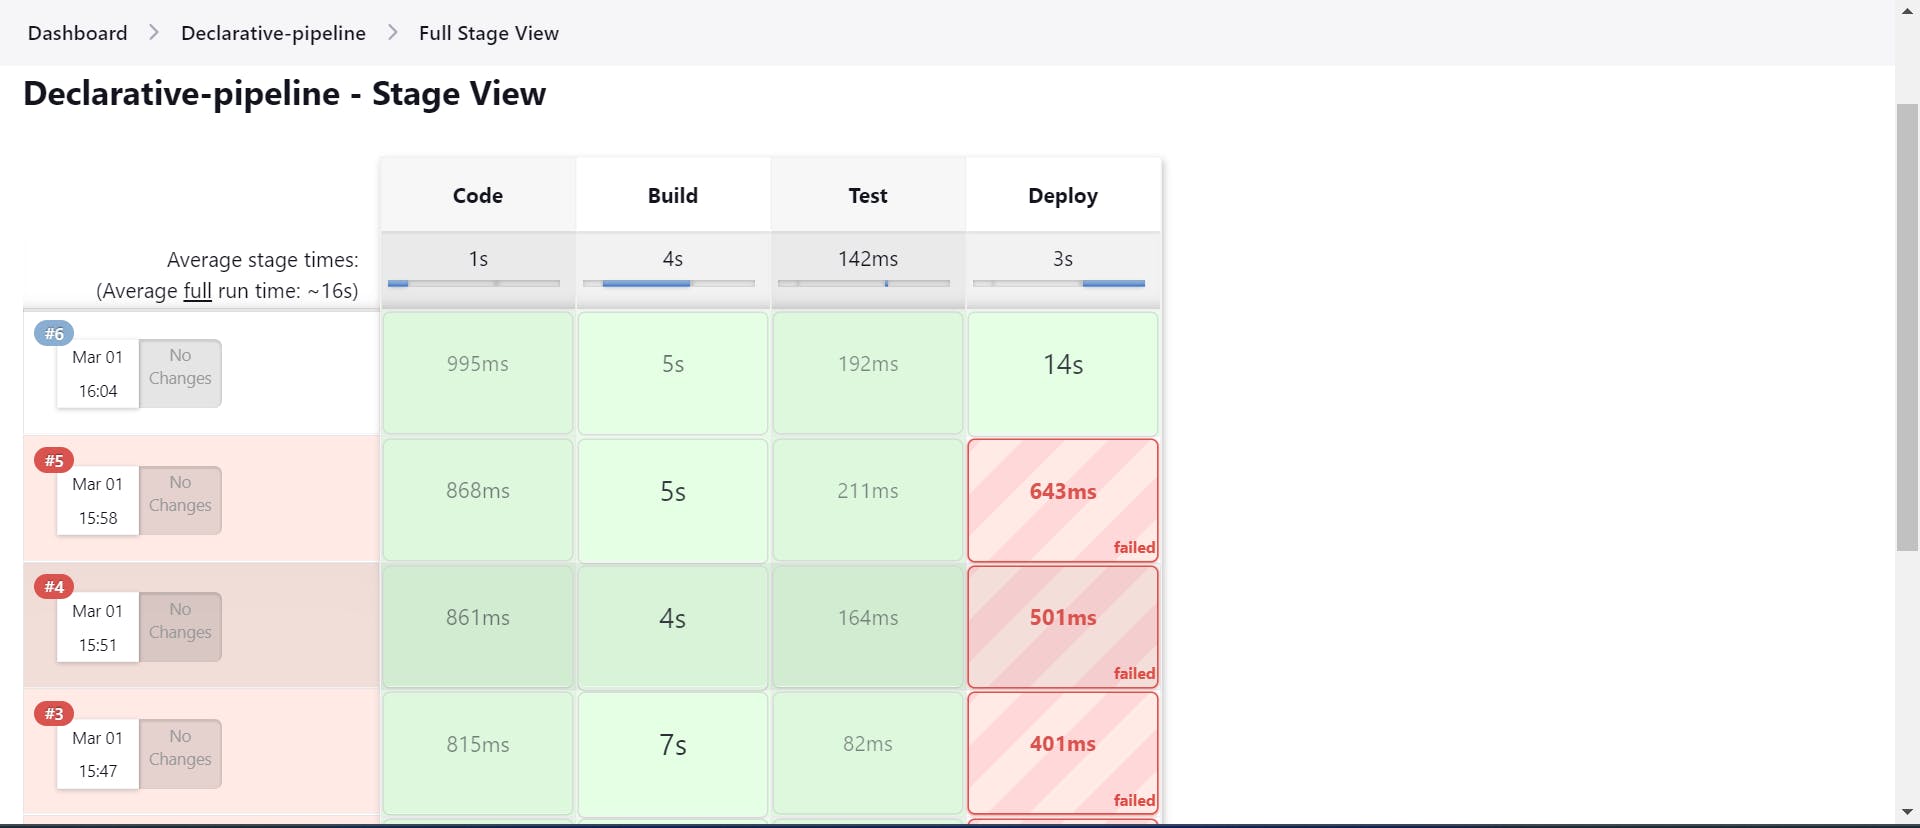
We are now crafting a Docker-integrated Jenkins Declarative Pipeline utilizing Docker's Groovy syntax within the stage block.

Upon completion, we observe the successful build and the application running seamlessly.
Follow for more:
Linkedin: https://www.linkedin.com/in/samarjeet-patil-921952251/