

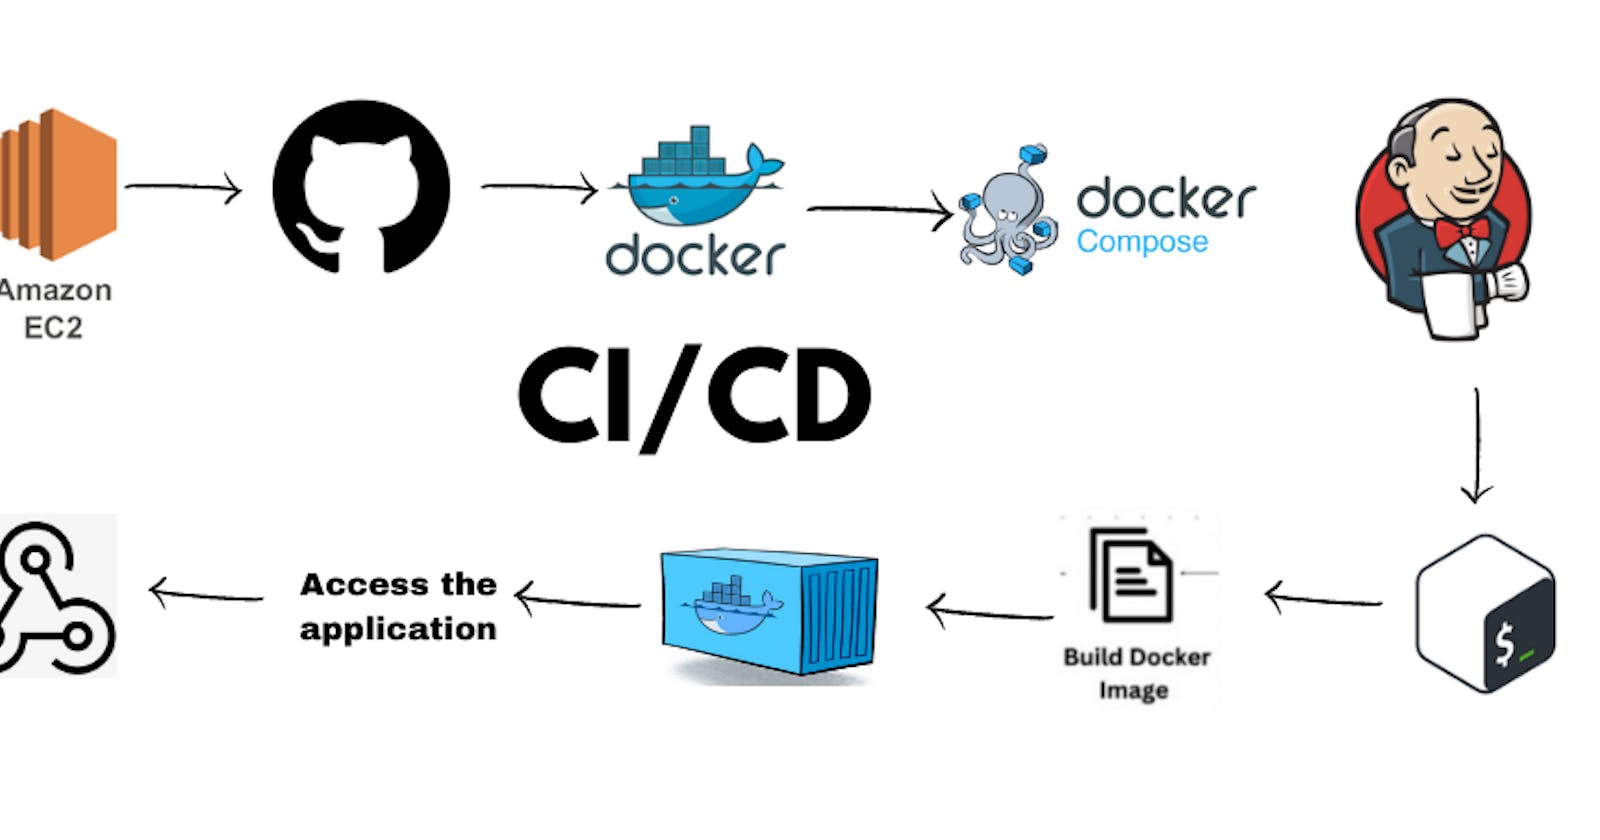
In the world of software development, Continuous Integration and Continuous Deployment (CI/CD) pipelines streamline the process of delivering quality code efficiently. In this blog post, I'll walk you through the steps of building and hosting a Love Calculator project using Jenkins CI/CD pipeline.
Step 1: Launching an EC2 Instance for Ubuntu 🛠️
To kick off our journey, we start by launching an EC2 instance for Ubuntu. This will serve as our server where we'll deploy our Love Calculator project.
Step 2: Installing Jenkins on the Server 🏗️
Once our Ubuntu instance is up and running, the next step involves installing Jenkins. Jenkins acts as the automation server that orchestrates our CI/CD pipeline.
Step 3: Creating SSH Keygen 🔑
Before establishing a secure connection between our Jenkins server and GitHub repository, we create an SSH key pair. This key pair ensures secure communication between the two entities.
Step 4: Configuring SSH Key in GitHub 🚪
With our SSH key generated, we navigate to GitHub settings and add the public key generated in our EC2 instance.
Add SSH Key to GitHub:
Log in to your GitHub account.
Click on your profile icon at the top right corner of the page and select Settings.
In the left sidebar, click on SSH and GPG keys.
Click on the New SSH Key button.
In the "Title" field, provide a descriptive name for the SSH key.
In the "Key" field, paste the entire contents of your public key file (
id_rsa.pub).Click on the Add SSH Key button to save the key.
Confirm Key Addition:
GitHub will prompt you to confirm the action by entering your GitHub password.
Once confirmed, the SSH key will be added to your GitHub account.
This step establishes the connection between our Jenkins server and GitHub repository.
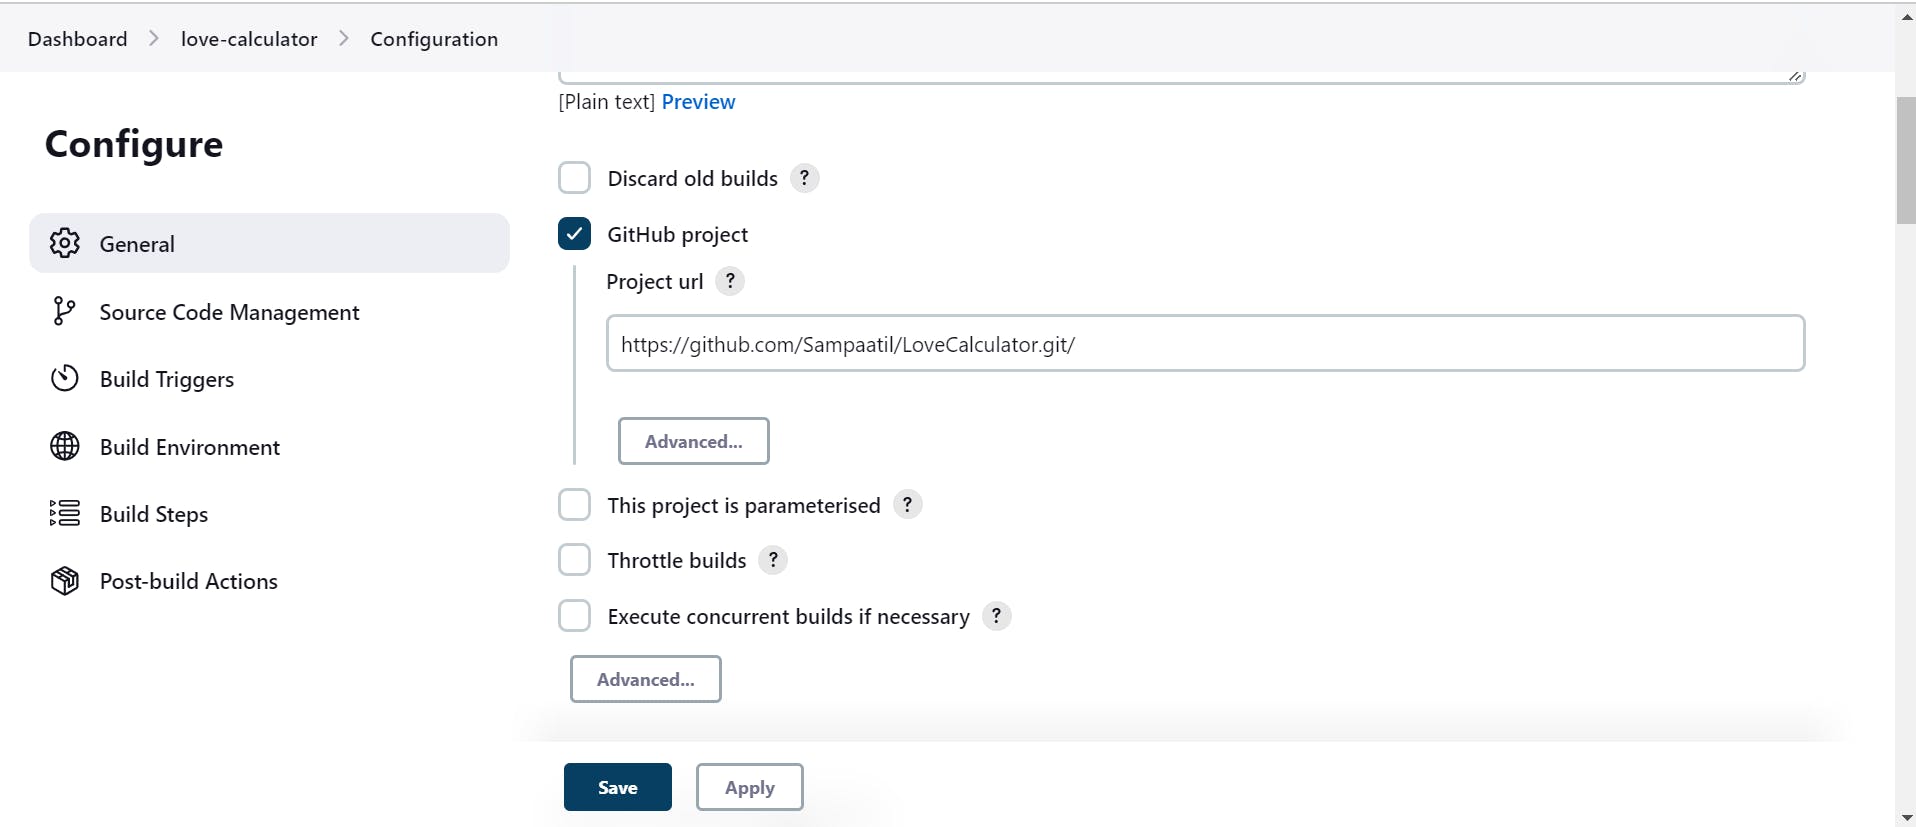
Step 5: Creating a Jenkins Job 🛠️
In Jenkins, we create a new job and provide the URL of our Love Calculator project repository. This sets the foundation for automating our CI/CD pipeline.
Step 6: Automating the Deployment Process 🤖
Now, we automate our deployment process by adding necessary commands in the Jenkins job's shell.
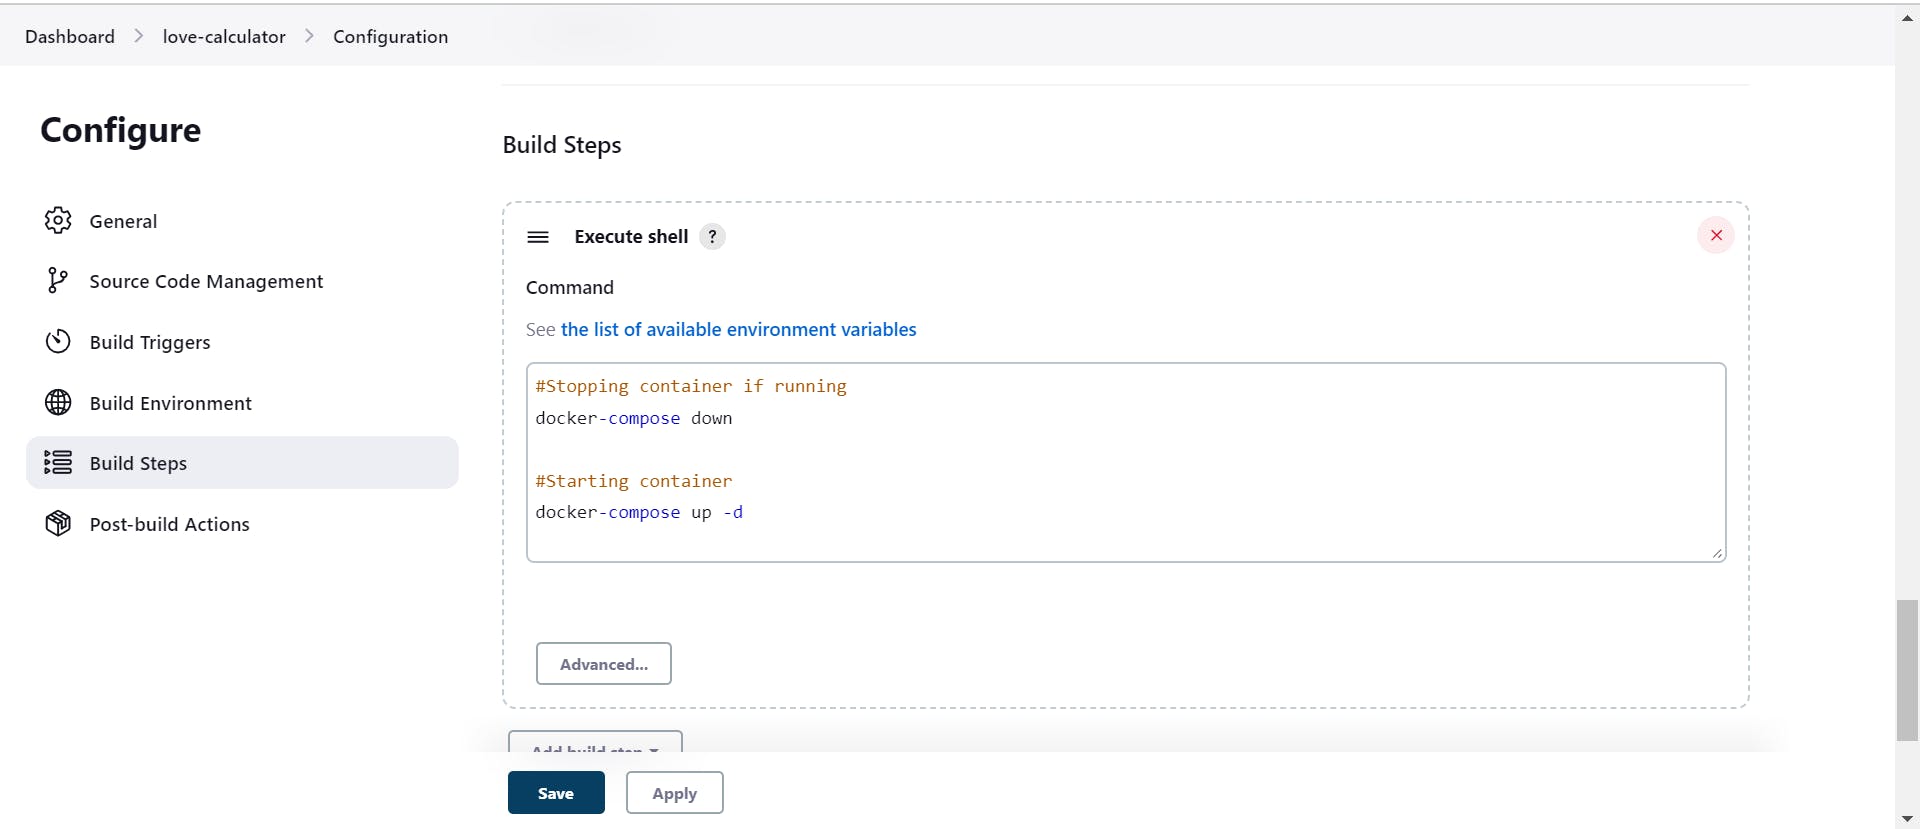
We use Docker Compose to run our application and ensure seamless deployment of our Love Calculator project.
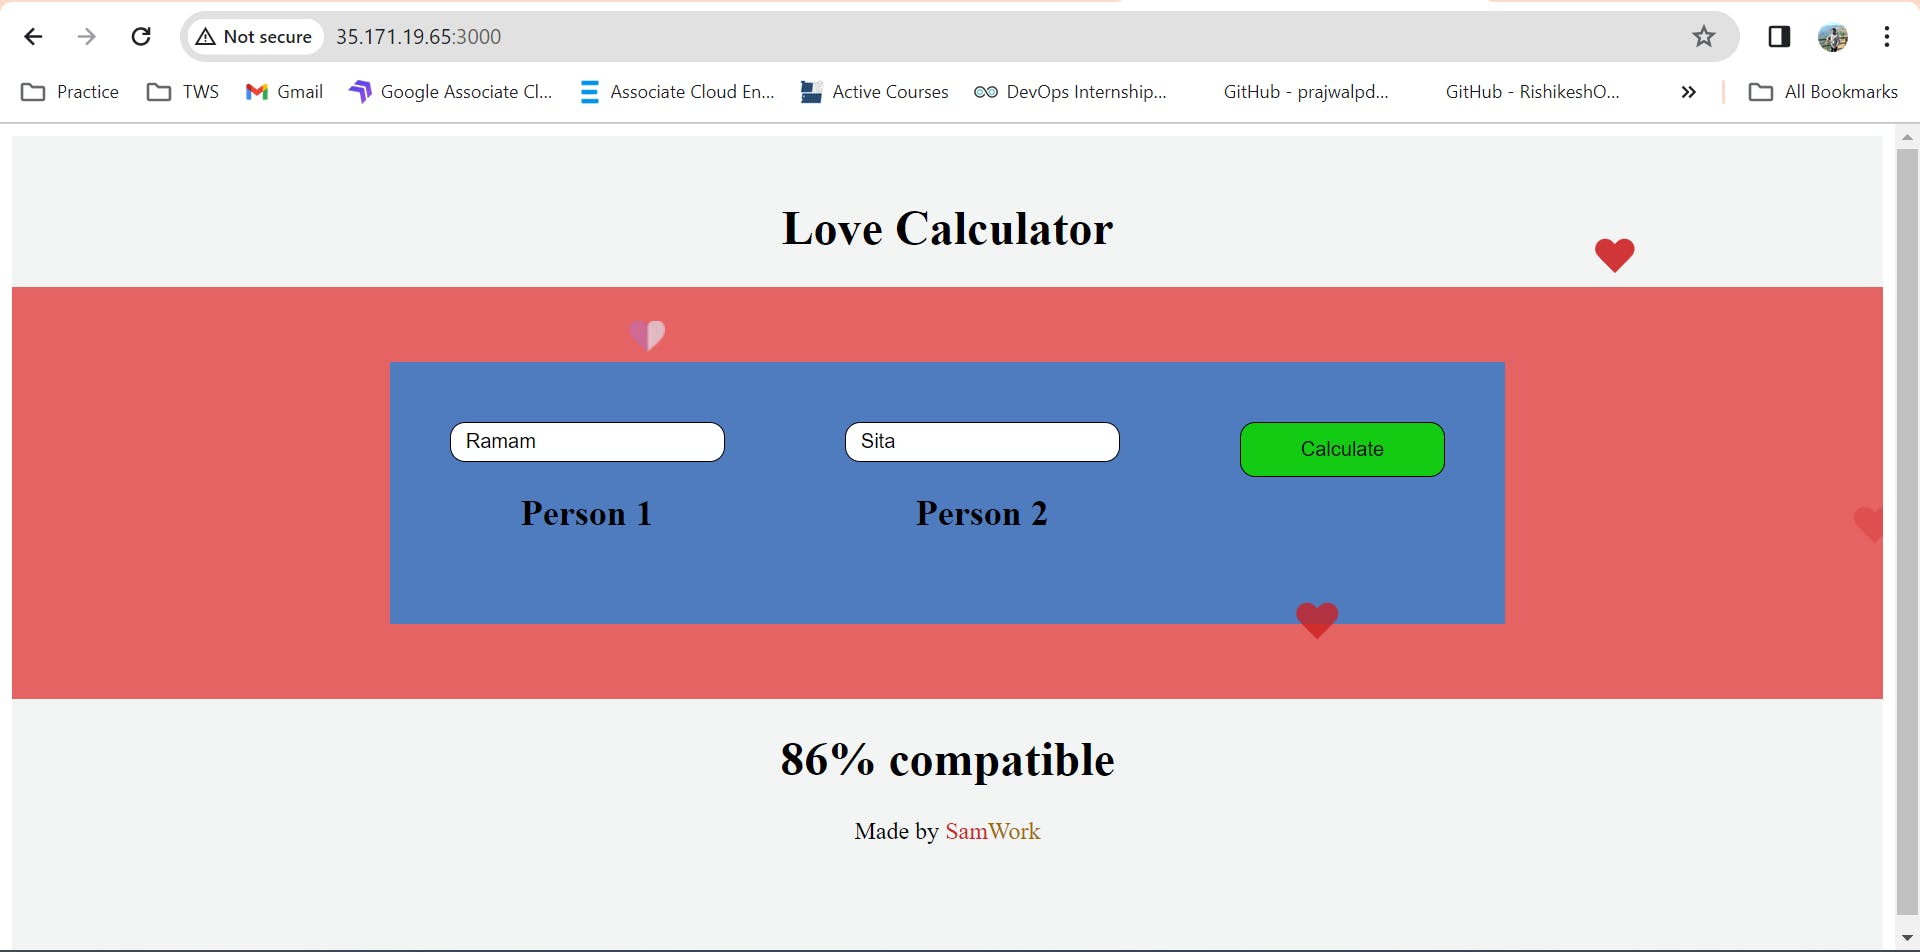
Snapshot of application:
Step 7: Configuring Webhook for Automatic Triggering 🎯
To streamline our development workflow further, we configure a webhook so that any changes made to our GitHub repository automatically trigger the Jenkins job. This ensures that our CI/CD pipeline remains responsive to changes and updates.
Go to jenkins -> configure -> tick this
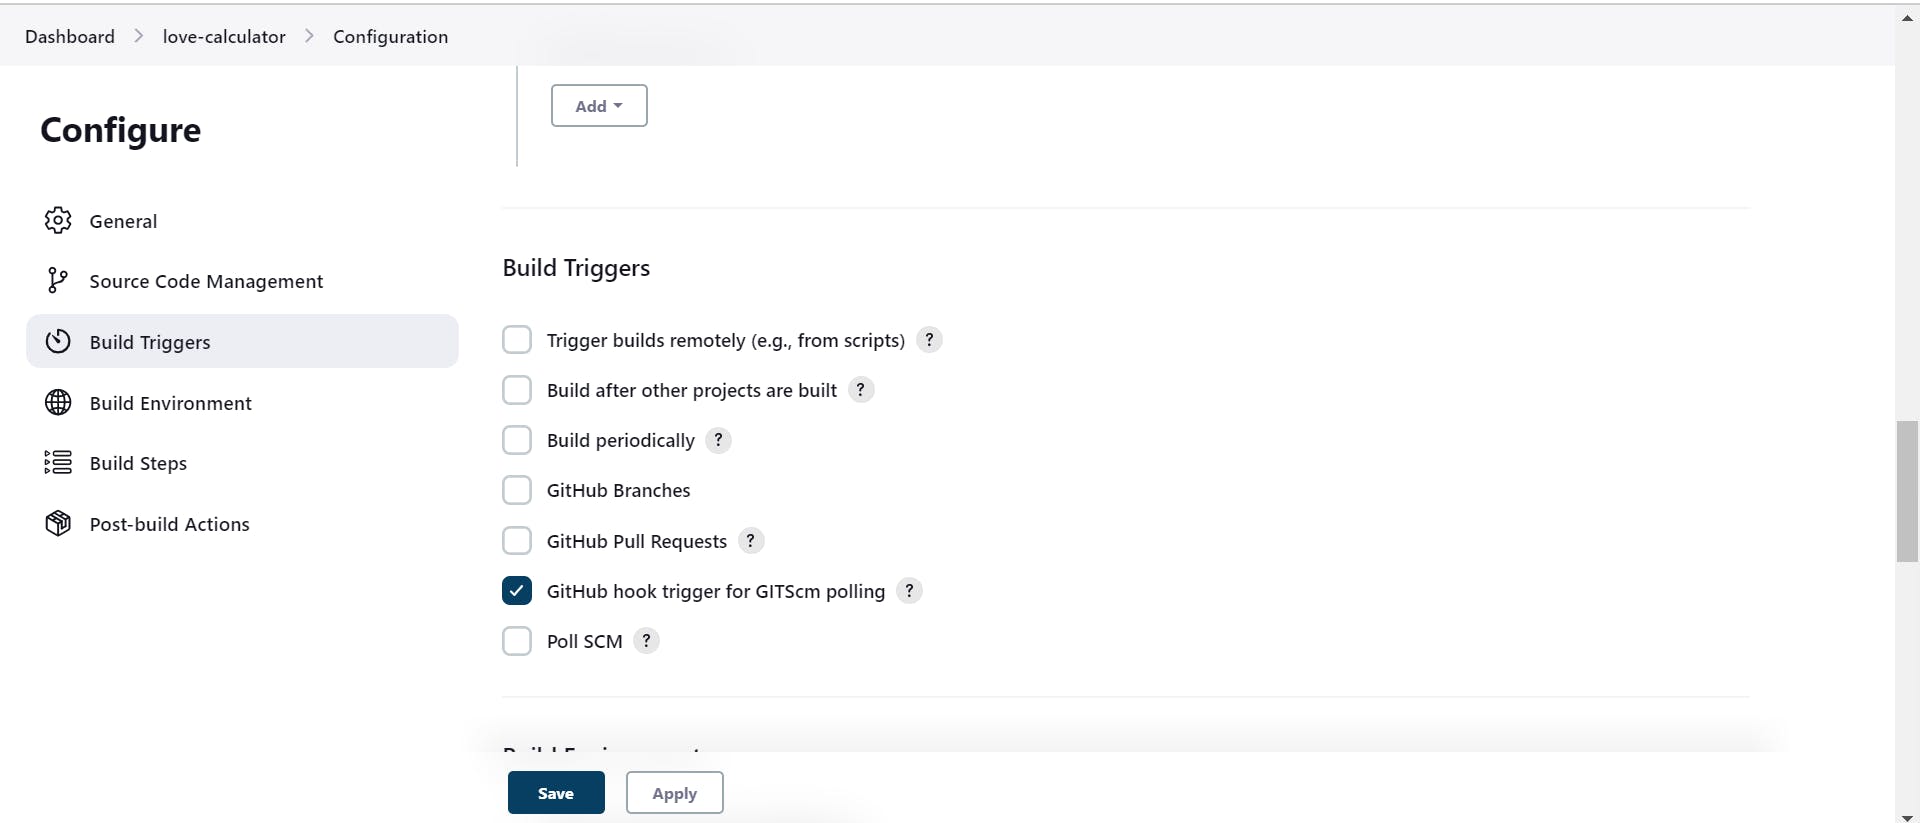
Now just update something in the repo and your job will be triggered automatically.
Conclusion:
By following these steps, we've successfully built and hosted our Love Calculator project using Jenkins CI/CD pipeline. Embracing automation and continuous integration not only accelerates our development process but also enhances the reliability and efficiency of our software delivery pipeline. Happy coding and deploying! 🚀
Resources used :
Video: https://www.youtube.com/live/nplH3BzKHPk?si=XWbowU1M5R4-04nN
Github: https://github.com/Sampaatil/LoveCalculator.git
Follow for more:
Linkedin: https://www.linkedin.com/in/samarjeet-patil-921952251/